Please submit your comments for help with the iOS App.
Focus on what matters with this clean, minimalist Pomodoro timer. Simple tap controls, timely alerts, and progress tracking keep you on track.
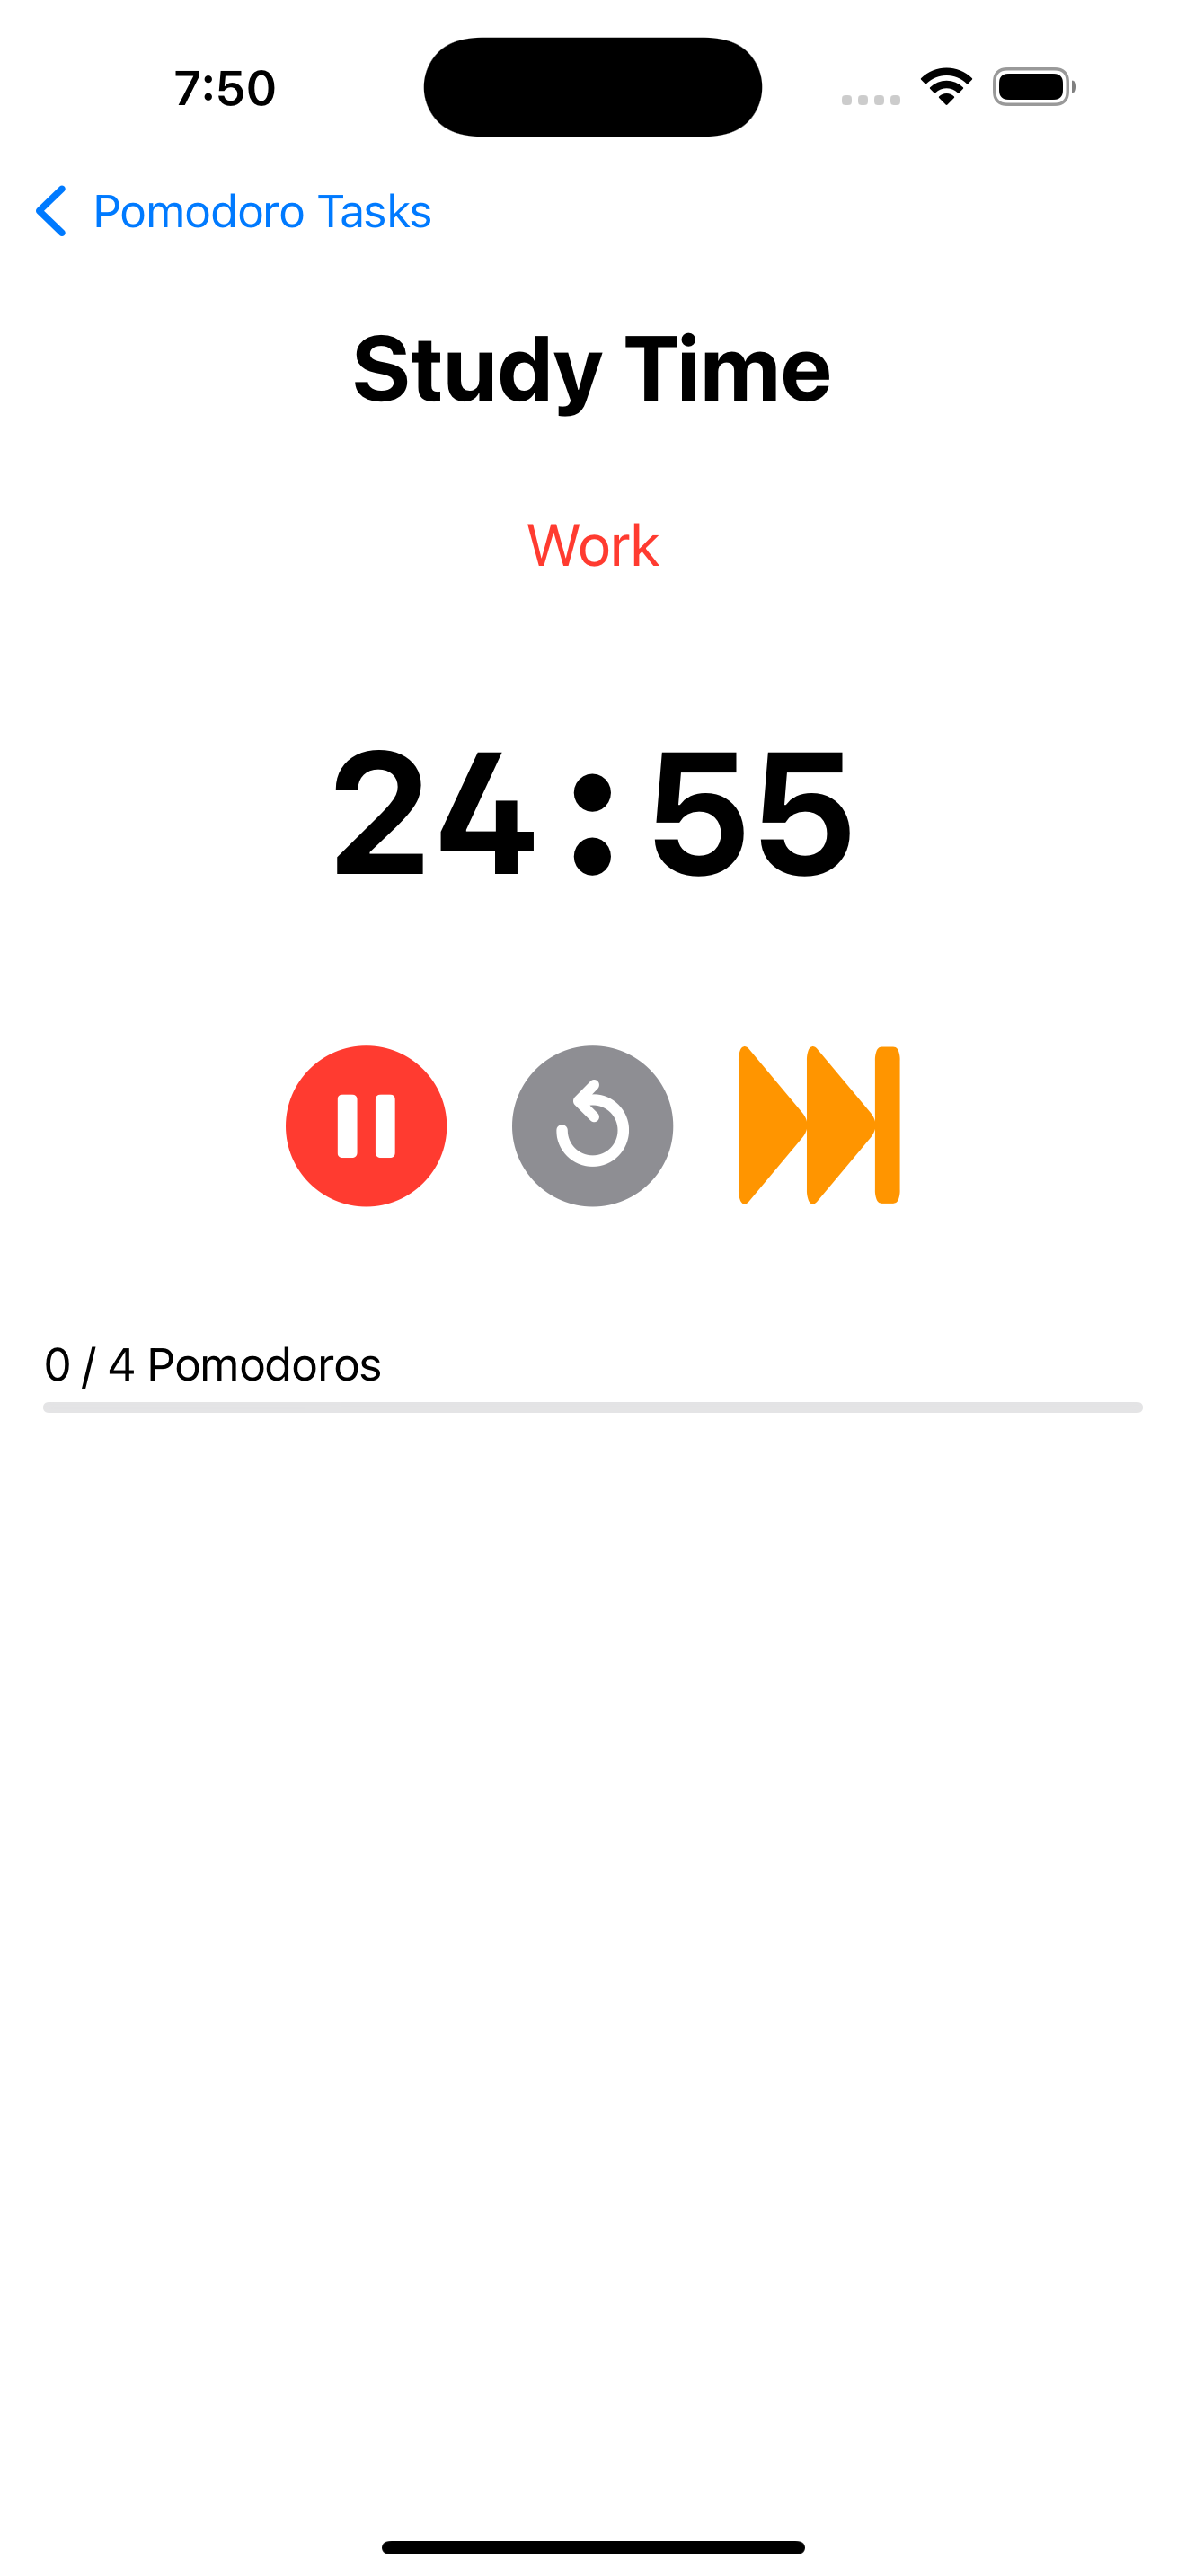
Pomodoro Timer Pro Max is a clean, minimalist Pomodoro timer to help you stay focused and boost productivity. Its intuitive interface and one-tap controls make it easy to start a focus session, so you can concentrate on the task at hand. After each session, take a short break to recharge and avoid burnout. With its straightforward design and clear controls, Pomodoro Timer Pro Max keeps your workflow on track.
Minimalist design: Crisp, intuitive UI that keeps distractions away so you can focus.
Classic Pomodoro sessions: Work in 25-minute focus intervals with short breaks in between to recharge.
Custom Pomodoro sessions: Work in custom focus intervals as needed.
Simple tap controls: Start, pause, skip, or reset your timer with just one tap.
Audio notifications: Gentle chimes or alerts signal when a work session or break begins.
Progress tracking: See how many Pomodoros (focus sessions) you’ve completed to track your productivity.
Pomodoro Timer Pro Max makes it simple to stay on track and get things done. Start each focus session with confidence and enjoy a calmer, more productive workday. Ready to sharpen your focus and boost your productivity? Try it on your iPhone and iPad today.